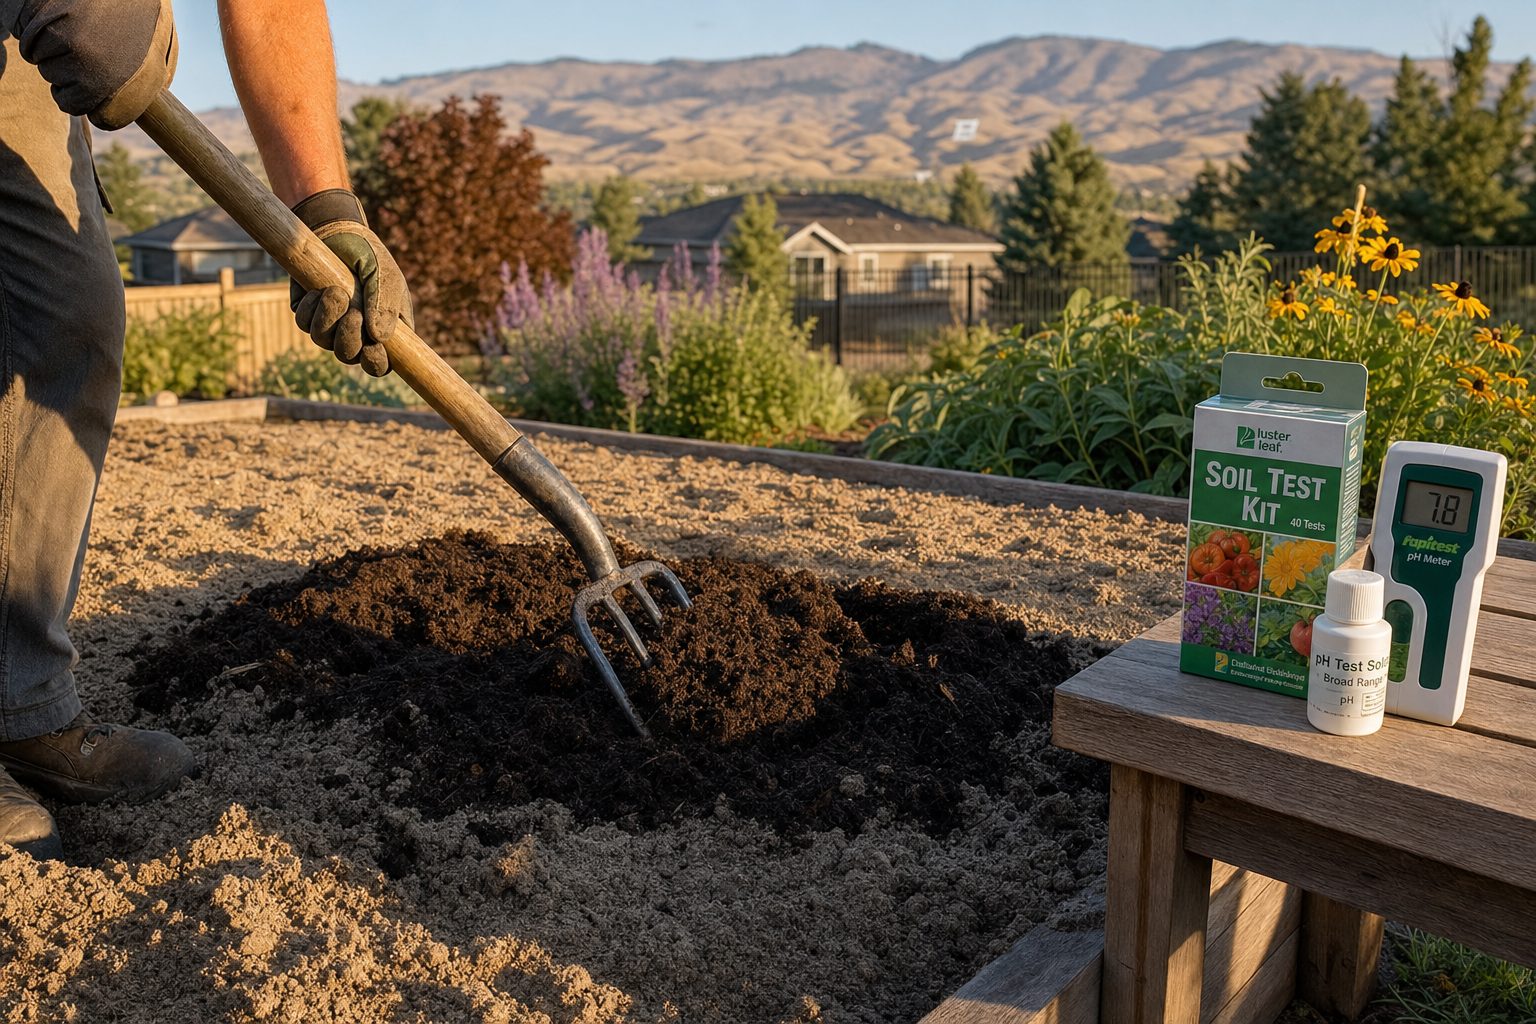
If you've ever planted a tree in the Treasure Valley and watched it struggle despite regular watering, the soil is almost certainly the reason. Our valley's soils are alkaline, often compacted, and in many neighborhoods capped with a layer of caliche — a cement-like hardpan of calcium carbonate that blocks roots, water, and drainage. The good news: nearly every soil problem here is fixable with the right amendments, applied at the right time, in the right quantities.
This guide covers how to test your soil, what amendments work in the Treasure Valley, how to deal with caliche and compacted clay, how to adjust pH for acid-loving plants, where to source compost locally, and how much it all costs. Whether you're planting a single tree or reworking an entire yard, these strategies are grounded in the specific soil conditions of Ada and Canyon Counties.
Why Treasure Valley soil is different
The Treasure Valley sits on a combination of alluvial fans, river terraces, and lake-bed deposits shaped by the Boise River, the Snake River, and ancient Lake Idaho. The resulting soils vary dramatically depending on where you live — sometimes within the same subdivision — but they share a few common characteristics:
- Alkaline pH — nearly all Treasure Valley soils test between pH 7.2 and 8.5. The Boise area has virtually no naturally acidic soil. High pH locks up iron, manganese, phosphorus, and other micronutrients, producing chlorosis (yellow leaves with green veins) in maples, oaks, dogwoods, blueberries, and many ornamentals.
- Low organic matter — native desert soils typically contain less than 2% organic matter. Idaho's arid climate (13–15 inches of annual precipitation in Boise) means organic material decomposes slowly and is not replenished naturally the way it is in wetter climates.
- Compaction and hardpan — construction equipment, foot traffic, and the natural layering of alluvial soils create dense layers that restrict root growth and water infiltration. In some areas, a true caliche layer sits 6–36 inches below the surface.
- Variable texture — the Boise Foothills tend toward coarse sandy loam (the NRCS-classified Boise series), the benches above the river are finer silt loam to silty clay loam (Piercepark, Bissell series), and the valley floor around Nampa and Caldwell ranges from fertile silt loam (Caldwell series) to heavy clay in low-lying drainageways.
Soil varies by neighborhood — not just by city
The soil on the Boise Bench (between the river and the foothills) is different from soil in South Boise, which is different again from soil in Star or Caldwell. Before amending, identify your soil zone. The USDA NRCS Web Soil Survey lets you enter your address and see the named soil series mapped to your property — a free, underused tool that takes the guesswork out of what's under your feet.
Step 1: Test your soil before buying amendments
Soil testing is the single most important step, and the most commonly skipped. Without a test, you're guessing about pH, nutrient levels, and organic matter content. A professional lab test costs about $35–50 and tells you exactly what your soil needs — and just as importantly, what it doesn't.
Where to get a soil test in the Treasure Valley
| Provider | Service | Cost | Contact |
|---|---|---|---|
| University of Idaho Analytical Sciences Laboratory | Full nutrient panel: pH, N-P-K, organic matter, micronutrients, texture, lime recommendation | $35–$50 per sample (varies by test package) | Pick up a test kit at UI Extension Ada County, 5880 Glenwood St., Boise · Mail sample to lab in Moscow, ID · (208) 885-7466 · uidaho.edu |
| UI Extension, Ada County | Free soil test kit pickup; help interpreting results after lab analysis | Free (kit + interpretation); lab fees paid separately | 5880 Glenwood St., Boise · (208) 287-5900 · uidaho.edu |
| Ada Soil & Water Conservation District | Soil food web assessment (biological analysis) for growers and gardeners | Varies by assessment type | adaswcd.org |
| Home soil test kits (DIY) | Quick pH and N-P-K reading with colorimetric probes or strips | $15–$40 (less accurate than lab testing) | Available at The Home & Garden Store (Boise), Edwards Greenhouse, and most garden centers |
How to take a soil sample
For an accurate result, take a representative sample:
- Divide your yard into zones — front yard, back lawn, vegetable garden, and any area with visibly different soil (color, drainage, plant health). Test each zone separately.
- Take 8–12 sub-samples from each zone. Use a soil probe, trowel, or bulb auger to dig 6 inches deep for lawns and garden beds, or 12 inches deep for trees and shrubs.
- Mix the sub-samples in a clean plastic bucket (not galvanized metal — it can contaminate zinc readings). Remove rocks, roots, and debris.
- Fill the sample bag with about 2 cups of the mixed soil. Label it with the zone name.
- Send it in — mail to the U of I Analytical Sciences Laboratory with the completed form and payment. Results typically arrive in 2–3 weeks.
The best time to test is early spring (March–April) before you add amendments, or fall (October) after the growing season. Avoid sampling immediately after fertilizing — it will skew nutrient readings.
Step 2: Add organic matter (the universal amendment)
If you do only one thing to improve Treasure Valley soil, add organic matter. Compost is the single most effective amendment for our alkaline, low-organic-matter desert soils. It improves water retention in sandy soils, improves drainage in clay soils, feeds soil microbes, slowly lowers pH through microbial activity, and makes locked-up nutrients more available to plants.
How much compost to add
| Application | Depth of compost | Cubic yards per 1,000 sq ft | Notes |
|---|---|---|---|
| New garden beds (first year) | 2–3 inches, incorporated 8–12 inches deep | 6–9 cu yd | Mix thoroughly with native soil — don't create a "bathtub" of pure compost layered on top of clay |
| Existing garden beds (annual top-dress) | ½–1 inch, scratched into surface | 1.5–3 cu yd | Replenishes organic matter that decomposes each season |
| Lawn renovation | ¼–½ inch, raked in before overseeding | 0.75–1.5 cu yd | Core-aerate first for better incorporation |
| Tree and shrub planting | Mix 25–30% compost with 70–75% native soil | — | Backfill the planting hole with the blend — see tree planting note below |
| Mulch (top-dress, not incorporated) | 2–3 inches on surface | 6–9 cu yd | Compost or arborist wood chips; keeps soil cool, suppresses weeds, breaks down slowly |
Free compost from the City of Boise
Boise residents who participate in the city's Curb It compost program can pick up 2 cubic yards of finished compost per household per year — free. The compost is STA-certified (Seal of Testing Assurance through the US Composting Council), regularly lab-tested for nutrients, metals, and pathogens. Pick up at the Joplin Road Compost Site, 12142 Joplin Rd, Boise, open daily 9 AM – 7 PM. Bring your own shovel and containers. Neighborhoods can also apply for the Community Compost Giveback program, which delivers 20–25 cubic yards at no cost. Details at cityofboise.org.
Where to buy compost in bulk
If you need more than the free Boise allocation, or you live outside Boise city limits, these local sources supply compost by the cubic yard:
| Source | Product | Approx. cost | Location |
|---|---|---|---|
| Cowgirl Compost | Composted dairy manure + bedding | $30–$45/cu yd | Available at The Home & Garden Store, Boise |
| Edwards Greenhouse | Compost, soil blends, planting mix | $35–$50/cu yd | 415 E. Sexton St., Boise · (208) 342-7548 |
| Zinter's LLC | Compost, topsoil, mulch | $30–$45/cu yd | Nampa · (208) 466-4989 |
| Mountain West Organics | Compost, soil amendments | $35–$50/cu yd | Caldwell area |
| D&L Supply | Compost, topsoil, bark | $30–$45/cu yd | Boise · (208) 375-4477 |
Step 3: Lowering pH for acid-loving plants
Most landscape plants in the Treasure Valley do fine at pH 7.2–8.0 — they've adapted or were bred for alkaline conditions. But certain plants require more acidic soil (pH 5.5–6.5) and will decline without intervention:
- Blueberries (Vaccinium corymbosum) — need pH 4.5–5.5
- Rhododendrons and azaleas (Rhododendron spp.) — need pH 5.0–6.0
- Dogwoods (Cornus spp.) — prefer pH 5.5–6.5
- Red maples (Acer rubrum) — prefer pH 5.5–6.5 (though A. truncatum and A. tataricum tolerate alkaline soil better)
- Pieris, enkianthus, and most ericaceous shrubs
- Raspberries and strawberries — prefer pH 6.0–6.5
For these plants, you have two options: amend the native soil to lower pH, or grow them in raised beds filled with acidic planting mix. In the Treasure Valley, raised beds are often more practical for true acid-lovers like blueberries — it's easier to maintain pH in a controlled medium than to fight alkaline native soil year after year.
Using elemental sulfur to lower pH
Elemental sulfur (Hi-Yield Elemental Sulfur, available at The Home & Garden Store and most garden centers) is the most cost-effective way to lower soil pH. Soil bacteria convert sulfur to sulfuric acid, which gradually lowers pH. The process takes 3–6 months and requires warm, moist soil for bacterial activity — so apply in early spring or fall, not in the heat of summer.
| Soil type | Sulfur to lower pH 1 unit (per 100 sq ft, 6" deep) | Timing |
|---|---|---|
| Sandy loam | 0.5–1 lb | Apply 4–6 months before planting; incorporate 6" deep |
| Loam | 1–1.5 lb | Apply 6 months before planting; incorporate 6" deep |
| Silty clay loam / clay | 1.5–2 lb | Apply 6+ months before planting; incorporate 6–8" deep |
Important: These rates are approximate. Sulfur requirements depend on your soil's calcium carbonate content — soils with high lime (calcareous soils) may need 2–3 times more sulfur, and the effect may be temporary as the carbonates continue to buffer the pH. This is why a soil test that includes a lime index is so valuable. Retest pH annually and reapply sulfur as needed — it's not a one-time fix.
Iron sulfate: a faster alternative
Iron sulfate (FeSO₄·7H₂O) lowers pH more quickly than elemental sulfur — results appear in 2–3 weeks — and also addresses iron chlorosis, the most common micronutrient deficiency in Treasure Valley landscapes. Apply at roughly 1–2 lb per 100 sq ft for a one-unit pH drop. The trade-off: iron sulfate is more expensive and the pH reduction is less long-lasting. It's best used as a spot treatment for established plants showing chlorosis, not as a whole-yard amendment.
What not to add to alkaline soil
- Wood ash — contains calcium carbonate (the same compound as caliche) and will raise pH further. Never add wood ash to Treasure Valley soil.
- Lime (agricultural limestone) — raises pH. Only appropriate if a soil test shows your soil is unusually acidic (rare in the Treasure Valley).
- Excessive peat moss — while peat is acidic, it decomposes quickly in our hot, dry climate and can hydrophobically repel water when dry. Use it sparingly and always mix with compost.
Step 4: Dealing with caliche and hardpan
Caliche is a layer of soil in which particles are cemented together by calcium carbonate (CaCO₃). It can form at or below the soil surface — sometimes just 6 inches down, sometimes 3 feet deep. In the Treasure Valley, caliche is most common south of the Boise River, on the benches, and in the older agricultural areas around Nampa and Caldwell. The Idaho Geological Survey documented caliche formation throughout the Boise Valley in its Bulletin 29, noting that the semiarid climate promotes illuvial horizons of lime and silica.
Caliche creates three problems for landscaping:
- Root barrier — the cemented layer is too hard for most roots to penetrate, limiting the rooting depth of trees and shrubs. Shallow-rooted trees are more likely to blow over in windstorms and are more drought-stressed.
- Water barrier — caliche blocks water infiltration, causing surface ponding, runoff, or perched water tables that drown roots above the caliche layer. This is a common cause of tree and shrub death in the Treasure Valley — the plant isn't dying from drought, it's dying from drowning.
- Drainage failure — if caliche underlies a French drain, dry well, or swale, the drainage system won't function. Water has nowhere to go.
How to deal with caliche when planting
Test for caliche before planting anything significant. Dig a test hole 24–36 inches deep. If you hit a hard, light-colored layer that resists digging and fizzes when you drip vinegar on it (the vinegar reacts with calcium carbonate), that's caliche.
For trees and large shrubs:
- Drill or break through the caliche — if the layer is thin (a few inches), use a pickaxe, pry bar, or post-hole digger to punch through it. If it's thick, use a power auger with a rock bit.
- Widen the planting hole — if you can't break through, dig the planting hole 3–5 times the root ball width. This gives lateral roots room to spread, compensating for the limited depth. The old advice of "dig a $20 hole for a $5 tree" applies double in caliche country.
- Do not amend just the planting hole — if you fill the hole with rich compost but surround it with impermeable caliche, you've created a bathtub. The hole will fill with water and rot the roots. Either amend the entire planting area (10+ foot diameter), or plant in the native soil and top-dress with compost mulch.
- Consider raised mounds — for trees in high-caliche areas, plant on a slight mound (4–6 inches above grade) using a blend of native soil and compost. This adds effective rooting depth and improves drainage away from the crown.
- Install a French drain or dry well — if caliche causes persistent standing water, install a drain that carries water to a point where it can infiltrate (below the caliche layer, or to a drainage easement). Never assume caliche will drain on its own.
Step 5: Fixing compacted clay soil
Clay soils in the Treasure Valley are most common in the Boise River floodplain, the older neighborhoods of Nampa and Caldwell, and in low-lying drainageways. Clay holds nutrients well but drains poorly, compacts under foot traffic, and cracks deeply when dry. The Caldwell soil series, classified by NRCS as a fine-silty, mixed, superactive, mesic Cumulic Haploxeroll, is a silt loam to silty clay loam that's common on the valley floor — fertile, but prone to seasonal saturation.
Amendments for clay soil
| Amendment | What it does | Application rate | Cost |
|---|---|---|---|
| Compost | Improves aggregation, drainage, and microbial activity | 2–3 inches, incorporated 8–12" deep | $30–$50/cu yd |
| Perlite or pumice | Creates permanent air spaces; doesn't decompose | 1–2 inches, incorporated 8" deep | $20–$30/cu yd |
| Expanded shale (Profile) | Permanent aeration; improves drainage in heavy clay | 1–2 inches, incorporated 6–8" deep | $30–$40/cu yd |
| Gypsum (calcium sulfate) | Flocculates clay particles, improving structure and drainage; does not change pH | 10–20 lb per 100 sq ft, incorporated 4–6" deep | $15–$25 per 40 lb bag |
| Coarse sand | Improves drainage only if added at 50%+ by volume | Not recommended for small amounts | — |
The sand-in-clay myth
A common mistake is adding a few bags of sand to clay soil to "improve drainage." Adding small amounts of sand to clay creates a concrete-like mixture — the sand particles become embedded in the clay matrix and the result is worse drainage, not better. To improve clay with sand, you need to add at least 50% by volume (essentially replacing half the soil). Compost, perlite, pumice, and expanded shale are far more practical amendments for clay at any quantity.
Aerating compacted lawns
If your lawn soil is compacted (common in newer subdivisions where topsoil was stripped during construction), core aeration is the most effective mechanical treatment. A core aerator pulls plugs of soil 2–3 inches deep, allowing air, water, and compost to reach the root zone. For best results:
- Aerate in spring (April–May) or fall (September–October) when the grass is actively growing and can recover quickly.
- Water the lawn deeply 24 hours before — the aerator tines penetrate better in moist soil.
- Make 2–3 passes in different directions for thorough coverage.
- Top-dress with ¼ inch of compost immediately after aerating. The compost fills the aeration holes and works into the root zone over the following weeks.
- Overseed if the lawn is thin — the aeration holes provide ideal seed-to-soil contact.
Core aerator rentals cost about $60–$80 per day from local equipment rental stores (United Rentals, Eagle Hardware, Home Depot Tool Rental).
Planting-hole strategy for trees and shrubs
The single most contested topic in Idaho arboriculture is how to amend the planting hole. Current best practices, supported by the University of Idaho Extension and the International Society of Arboriculture, have shifted away from the old "amend the hole" approach:
The modern planting-hole method
- Dig the hole 2–3 times the width of the root ball, but no deeper. The root flare (where the trunk widens at the base) should sit at or 1–2 inches above grade.
- Backfill with the native soil — do not fill the hole with pure compost or potting mix. If the native soil is extremely poor (heavy clay or caliche), mix in up to 25% compost. More than that creates a "container effect" where roots circle within the amended zone rather than growing out into native soil.
- Do not add fertilizer to the planting hole. A young tree's root system should be encouraged to grow outward in search of nutrients, not confined to a fertilized pocket.
- Break through caliche if present — drill or dig through the caliche layer at the bottom of the hole, or dig a wider hole that extends past the caliche. If the caliche is too thick to penetrate, mound the planting area 4–6 inches above grade and plant on the mound.
- Water deeply at planting — settle the soil with a slow, deep soaking (not a surface sprinkle). Build a 3-inch tall soil berm around the planting hole to create a watering basin that directs water to the root zone.
- Mulch with 2–3 inches of compost or arborist wood chips in a 3-foot radius, keeping mulch 2–3 inches away from the trunk to prevent rot.
The "bathtub effect" — the #1 cause of new-tree death in the Treasure Valley
When you dig a hole in clay or caliche soil, fill it with loose, rich compost, and plant a tree, you've created a watertight container. Irrigation water enters the loose amended soil, but can't drain through the surrounding clay or caliche. The planting hole fills with water, the roots drown, and the tree dies — often within the first growing season. The fix: either plant in native soil (with top-dress mulch), or amend a wide area (10+ foot diameter) so drainage is uniform throughout the root zone.
Soil amendment cost guide
Here's what to budget for common soil amendment projects in the Treasure Valley (2026 prices):
| Project | Materials needed | DIY cost | Pro cost (materials + labor) |
|---|---|---|---|
| Soil test (1 sample) | Lab fee + kit | $35–$50 | — |
| 100 sq ft garden bed, first-year amendment | 0.5–1 cu yd compost | $25–$50 | $75–$150 |
| 1,000 sq ft lawn, core aerate + compost top-dress | Aerator rental ($70) + 1.5 cu yd compost ($50–$75) | $120–$145 | $300–$500 |
| New tree planting (caliche present) | Pickaxe/auger, 0.5 cu yd compost, mulch | $50–$100 | $200–$400 (tree + planting) |
| pH adjustment (1,000 sq ft, 1-unit drop) | 10–20 lb elemental sulfur | $20–$40 | $80–$150 |
| French drain through caliche (50 ft) | Gravel, perforated pipe, excavation | $200–$400 | $800–$2,000 |
| Raised bed for acid-loving plants (4×8 ft) | Lumber, acidic planting mix (peat + compost + perlite) | $80–$150 | $250–$400 |
A soil amendment calendar for the Treasure Valley
March – April
Test soil before the growing season. Apply elemental sulfur if pH needs lowering — bacteria need warm soil to convert it. Start picking up free compost from the Boise Joplin Road site.
April – May
Incorporate 2–3 inches of compost into new garden beds before planting. Core-aerate lawns and top-dress with ¼ inch compost. Plant trees and shrubs (break through caliche if needed).
June – July
Top-dress beds with 1 inch compost mulch to conserve moisture and feed soil biology during the hot months. Avoid applying sulfur — it's too hot for effective bacterial conversion.
September – October
Best time for major soil work. Apply sulfur for next spring's planting. Incorporate compost into beds after harvest. Core-aerate lawns. Plant trees (roots establish in cool, moist fall soil before winter).
November – February
Top-dress all beds with 2 inches of compost or arborist wood chips as winter mulch. It will break down slowly and be incorporated by freeze-thaw cycles and earthworms by spring.
Year-round
Monitor established acid-loving plants for chlorosis (yellow leaves, green veins). Apply iron sulfate as a foliar spray or soil drench if symptoms appear. Don't add wood ash to garden beds or compost.
Local soil resources
- UI Extension, Ada County — Soil test kit pickup, result interpretation, Master Gardener plant clinic (May–September). 5880 Glenwood St., Boise · (208) 287-5900 · uidaho.edu
- University of Idaho Analytical Sciences Laboratory — Full soil nutrient analysis. Mail-in service. (208) 885-7466 · uidaho.edu
- Ada Soil & Water Conservation District — Soil food web assessment, soil health programs for growers. adaswcd.org
- City of Boise Compost Program — Free compost pickup (2 cu yd/household/year) for Boise residents. Joplin Rd site, daily 9 AM – 7 PM. cityofboise.org
- The Home & Garden Store — Local soil amendments, sulfur, iron sulfate, compost, soil test kits, expert advice. 4828 N. Cole Rd., Boise · (208) 917-4820 · thehomeandgardenstore.com
- USDA NRCS Web Soil Survey — Free online tool to identify the named soil series on your property. Enter your address and view detailed soil maps. websoilsurvey.nrcs.usda.gov
- Idaho Botanical Garden — Demonstration gardens showing what grows well in Treasure Valley conditions, soil preparation workshops. 2355 N. Penitentiary Rd., Boise · idahobotanicalgarden.org